Kami Connect Speaker Session | Sarah Coats

As teachers, you all know that there’s no one perfect instructional resource. 

We always have a need to modify, change, or improve our teaching materials to best fit the needs of a class. With Kami, you can use all of your current materials (even pick and choose which parts you need) and make small changes to best meet the needs of your class, all while also making your lesson more dynamic and interactive! Students will then have a more personalized learning experience where they can actively engage with the content. 

There are many ways you can use Kami to create these dynamic resources. I’ve focused on three main steps. The first step is using Split & Merge – this feature within Kami allows you to pull parts of multiple resources into one Kami file. Step two is to “add asynchronous instructional supports” – I’m going to show you how to use features like Video Comment and Screen Capture to make your resource more dynamic. Lastly, step three is “multiple opportunities for active engagement” – we’ll learn how Kami features allow students to actually interact with the content, instead of just reading it or viewing it on the screen.

Split and Merge

Start by selecting an existing file you already use in your class. This includes Google Docs, PowerPoint, image files, Microsoft Word, and more. With any file you select, you can remove pages from that file and even pull certain pages to combine and create a totally new one – it’s pretty amazing if you think about it!
For example, you can pull pages two and three from a reading article, pull page four from a PDF that has comprehension questions, and pages two and eight of an images file; this tool allows you to customize any resource without creating materials from scratch.

Asynchronous Instructional Supports

Before we move to step two, let’s take a minute and talk about learning styles. Do you have a learning style? Are you a kinesthetic learner, or an auditory learner?

Well, this whole idea of learning styles… is actually a myth.

I know, I know, I was surprised when I heard this too. Believe it or not—even though we learn about learning styles and it seems to be a well-known topic amongst educators—research is showing that there is actually no evidence that supports that our brains have a specific learning style.

Now, a person might have a preference, or “like” learning a specific way, but there is no evidence that a student is a “visual learner” instead of an “auditory learner.” Our brains aren’t wired to learn a specific way over another. I might prefer to learn visually, but that doesn’t mean I can’t learn in other ways.

So, how does this impact you as a teacher?
Well, we most likely learned about learning styles, so it might impact how we design our lessons (whether we realize it or not). Since this is a myth, it’s important we give students multiple ways to learn (and not design lessons based on learning styles). We can achieve this with our next steps, adding asynchronous instructional supports.

With asynchronous instructional supports, you can provide multiple modes of learning which open up additional avenues for engagement.
There are so many ways you can do this! Here are a few examples:

  • Using the Screen Capture Tool, you can model how to mark up the text or solve a math problem.
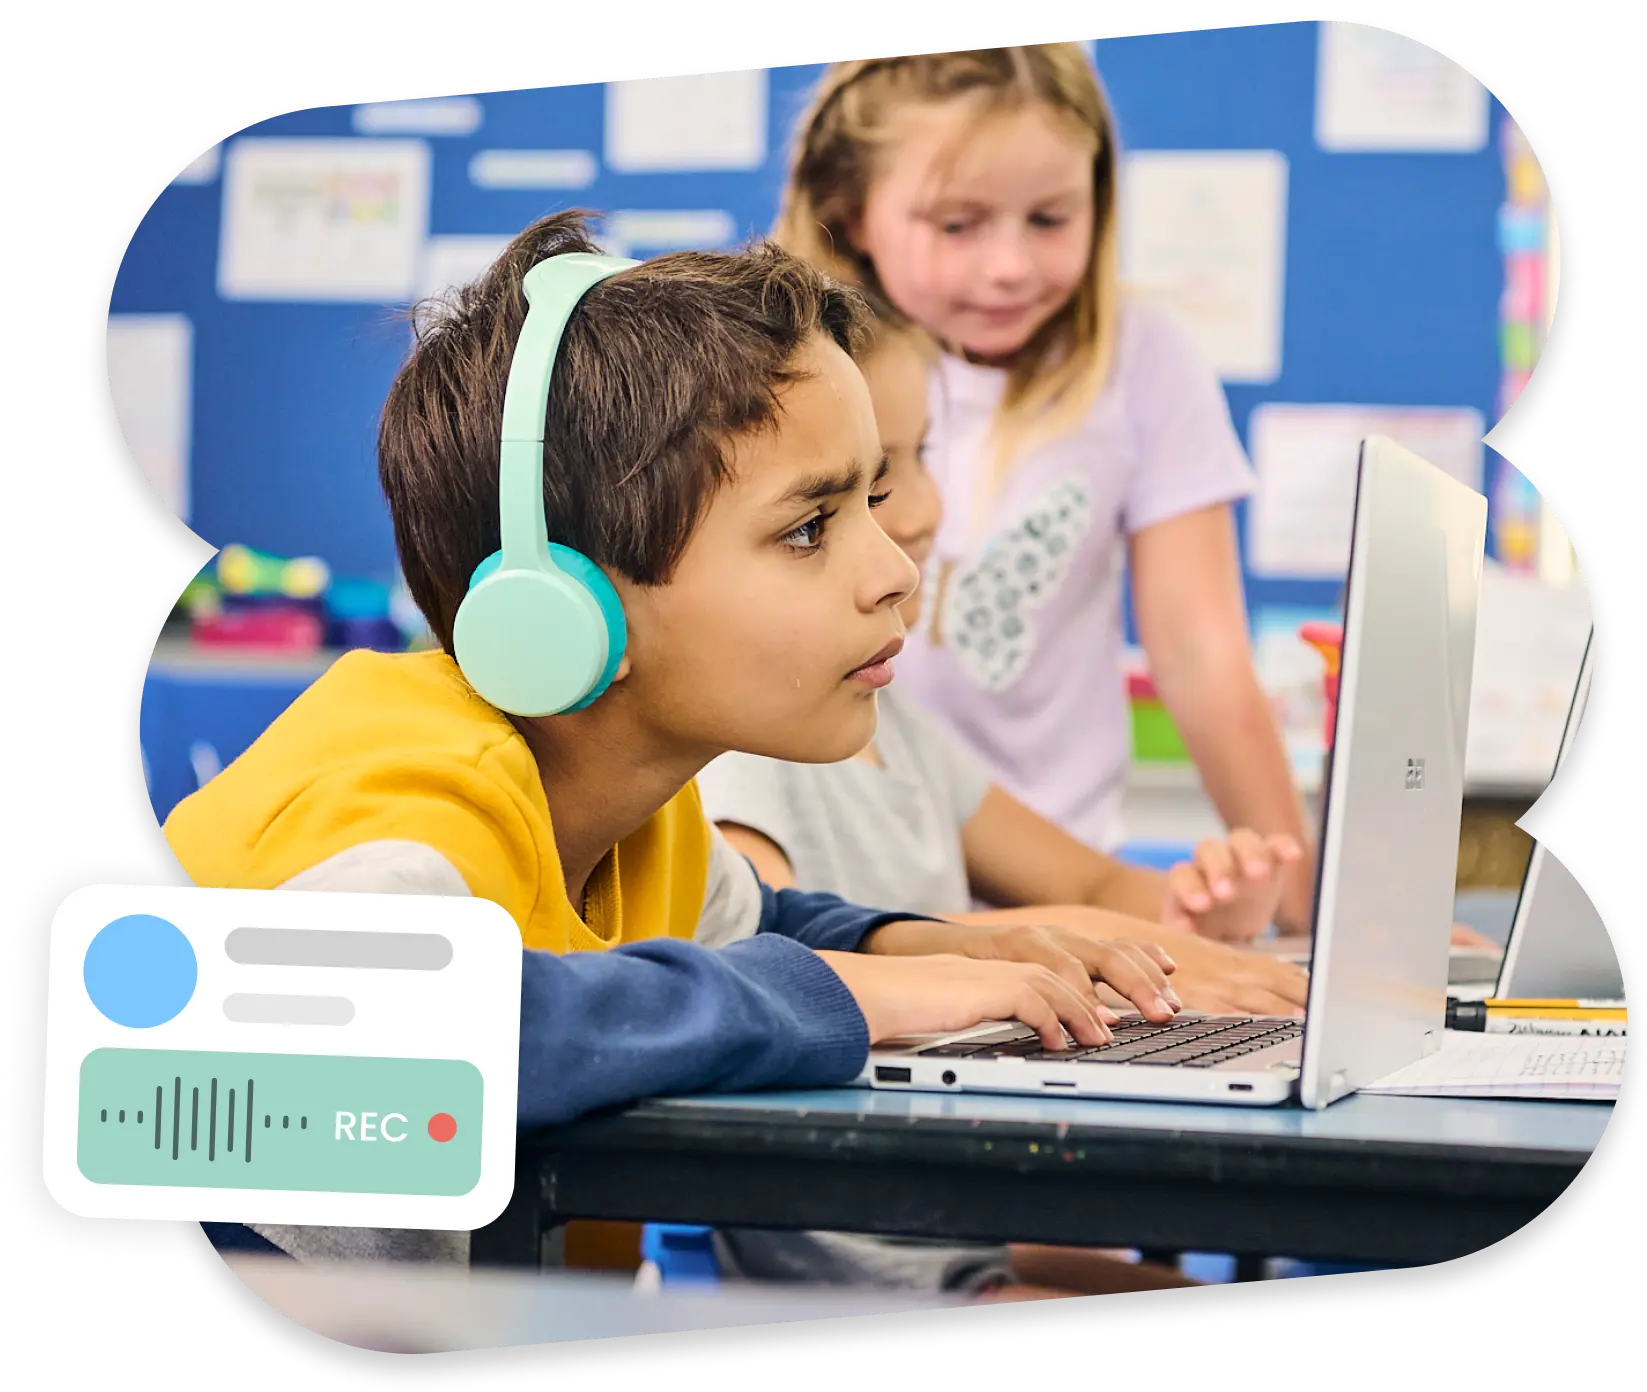
  • Using the Audio Comment, you can further explain directions, or add language support for students who speak another language.
  • With the Markup Tool, you can highlight important vocabulary.
  • Using the Media Tool, you can add images to vocabulary words that you highlighted. You can also use the Media Tool to add videos to further explain a topic.

This is where you, as the teacher, can intentionally build that asynchronous instructional support to meet the needs of your students!

Multiple Opportunities for Active Engagement

Ok, time for the last step.
Step three is about creating multiple opportunities for active engagement. This is key to making your instructional resource dynamic! With Kami, students can actually interact with the content, as opposed to just reading it on a screen.

For this step, it’s all about having students use the Kami features to engage with the content. You just have to build in those opportunities.
For example:

  • You can prompt students to use the Markup Tool to highlight important words as they read.
  • Ask students to explain their thinking with the Audio Comment.
  • Give students a choice to explain their mathematical thinking through the Text or Screen Capture Tool and record themselves solving a problem with the Drawing Tool.
  • When building an understanding of a topic, prompt students to find images that are related to the topic to add more visual support.

The opportunities are endless, but it’s up to you to add those opportunities for active engagement into your instructional resources.
Good thing Kami makes it so easy!

So remember, to get started:
Step one
Use Split & Merge to combine multiple resources into one Kami file. Remember, this allows you to also pull specific pages from a file.

Step two
Add asynchronous instructional supports. You can get really creative here, but the big “powerhouse” features are using the different comments and media tools.

Step three
Provide multiple opportunities for active engagement. Students can engage using the same features, like voice comments, screen capture, and more. Lastly, as you begin down this journey, remember you can start with just one change!

So, instead of students typing their answers, can you ask them to find an image instead? When answering reading comprehension questions, can students use the Drawing Tool to markup the text to cite evidence? When solving a math problem, can you model it first using Screen Capture, and then ask students to also use Screen Capture to explain and show their thinking when solving the problem?

By using Kami to make these small changes, you’ll be able to amplify the powerful teaching strategies within a lesson, while giving students meaningful and active ways to engage in learning. Good luck, everyone!