

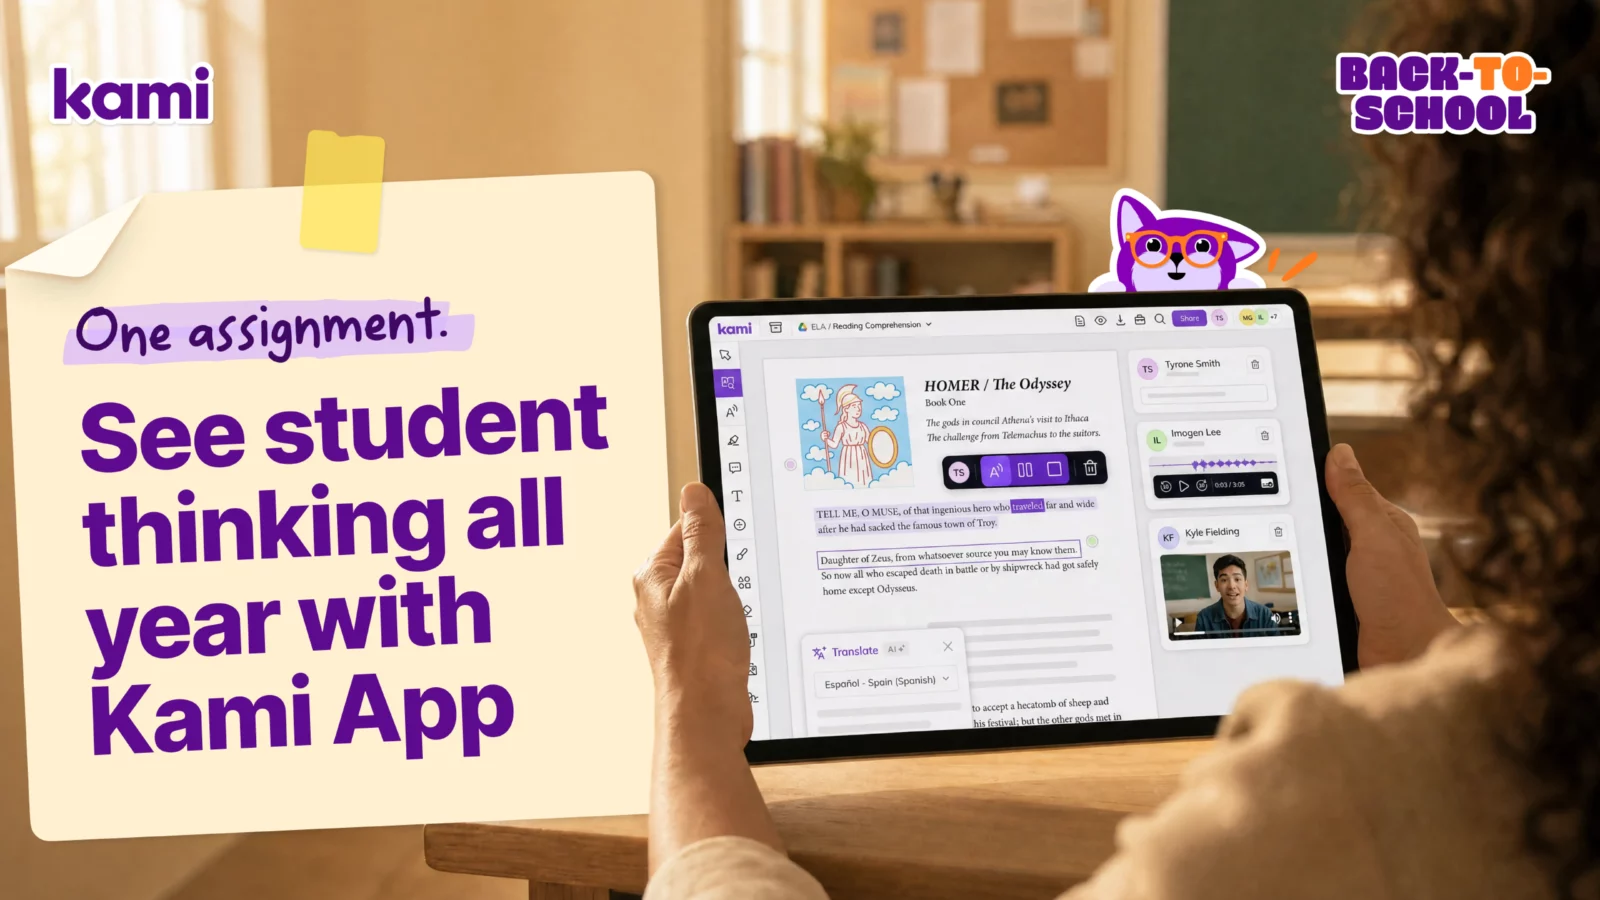

Back to school is equal parts fresh start and full sprint. You’re setting norms, rebuilding routines, and trying to get every student connected to the right materials before the new-year energy wears off. You don’t need a tool that adds one more thing to manage. You need one that gets out of the way and makes learning visible, fast.
Getting started with Kami for back to school doesn’t have to be complicated. This guide walks through a practical first-week setup: create your free account, build your first assignment, get students comfortable with the tools without losing instructional time, and know where to go when you want to learn more. It’s written to be quick to follow, even if you’re starting from zero.
For tech coaches: every step below works exactly the same way for a staff-wide rollout. Look for the short “for tech coaches” notes along the way for the parts that are specific to supporting a whole building.
What you’ll be able to do by the end
- Create a Kami account and confirm your basics are set
- Upload a classroom-ready file and build your first assignment
- Teach students the core tools in minutes, using built-in resources
- Set up a simple routine for feedback and visibility of learning
- Know where to find training and support all year long
Why getting started matters, especially in week one
In the first days of school, the goal isn’t to master every feature. It’s to get everyone accessing the work, completing the task, and showing their thinking. When the tool becomes the lesson, it slows momentum and creates more questions than it answers. When the tool supports instruction, you build routines that carry through the whole year.
A strong start looks like:
- Students can open, annotate, and turn in work with minimal confusion
- You can see evidence of thinking, not just final answers
- Your feedback is fast and consistent
This post is built around one goal: help you launch Kami in a way that feels calm, doable, and genuinely useful in week one, not one more thing to survive in August.
For tech coaches: the same idea, at building scale. A strong start means onboarding steps that are simple and repeatable, a reliable first-win workflow for staff, and support resources that are easy to find and hand off. And if you’re the one making the case for this rollout to a principal or district team, Kami’s white paper, Intentional EdTech: digital learning for purpose and learning outcomes, is built for leaders trying to move past “more tools” and toward tools that are actually adopted and used well.
Step 1: sign up and get your free account
If a tool is going to stick during the school year, it has to be simple to start. Kami is designed to be quick to adopt, whether you’re setting up your own classroom or piloting it with a small group first.
- Create your free account
- Confirm you can access Kami on your school device and browser, Chrome is common in many districts.
- If your school uses single sign-on, consider signing in with Google or Microsoft so your account lines up with your other school logins
If you’re using Kami first time, Getting Started with Kami for Teachers and Administrators in the Kami library covers the next steps in using the Kami tools.
Keep the setup small
A common mistake is trying to configure everything before anyone completes real work. Instead, aim for a small, confident first step: create your account, open your first file, and stop there. You can always build later. Edutopia’s advice for getting classroom tech ready points the same direction: the teachers who feel calmest in week one are the ones who tested one workflow ahead of time instead of trying to learn everything the morning students arrive.
For tech coaches: districts should now be installing the private version of the Kami Chrome extension rather than the public Chrome Web Store listing. It gives IT more control over deployment and updates across managed devices, and it’s worth standardizing on for this year’s rollout. Once it’s installed, pin it to the browser toolbar so it stays visible instead of getting buried in the extensions menu.
Step 2: get Kami certified
A little structured practice now saves you hours later. Kami certification is a practical way to build confidence with the core workflows you’ll use most in the classroom, in an order that matches how teaching actually works: create, assign, support students, share the finished work.
A simple way to approach it:
- Set aside 30-45 minutes for a first pass through the certification materials
- Practice on a real file you’ll use in week one, not a sample you’ll never revisit
- Use your certification right away by making an assignment during the first week of school.
For tech coaches: certification doubles as a rollout strategy. Identify a cohort of early adopters, a grade team, a department, or a building, and encourage certification as a shared baseline. It gives everyone common language to use when you’re coaching or troubleshooting later.
Step 3: join our community
Back to school is easier when you don’t have to solve everything alone. The Kami educator community is a place to trade practical classroom ideas, see how other teachers use the tools, and get answers when you’re trying something new.
If your team prefers something more casual, Kami’s educator Facebook group covers similar ground in a lighter-weight format.
For tech coaches: this is also a useful place to spot patterns in what teachers are asking for, and to share resources that work across grade levels.
Step 4: teach the tools with a five-day ramp
Even confident teachers can lose time when students are learning a new tool. The trick is to teach it in a way that supports instruction instead of interrupting it. A reliable approach is the micro-lesson: two minutes to demonstrate one tool, three minutes for students to try it, one minute for them to reflect or show they can do it.
If you’d rather hand students a single self-paced resource instead of running this yourself, Getting Started with Kami for Students covers the same core tools in one sitting.
A simple student ramp for week one:
- Day 1: Highlight and comment, students show evidence of thinking
- Day 2: Text box responses, students answer directly on the page
- Day 3: Drawing and labeling, diagrams, math steps, science labels
- Day 4: turn-in routine, students know what “done” looks like
- Day 5: choice workflow, students pick the right tool for the task
For secondary classrooms specifically, the Kami Scavenger Hunt for Secondary Level works well as a Day 1 substitute. Older students find and use the tools themselves, which tends to land better than a teacher-led walkthrough at that age.
Once the basics are automatic, send students to Learn Kami to practice specific tools one at a time, including Questions, AI, and Split and Merge.
A move that saves time all year: set “tool norms”
Build a reusable “Kami Tools Norms” slide or page with four to six expectations, for example: use highlight for evidence, comment for explanation, text box for final answers, drawing when steps need showing, and the same turn-in routine every time. This helps substitutes, helps students who join mid-quarter, and cuts down on repeated questions.
Step 5: create your first assignment
Start with a resource you already trust: the worksheet you already use, a reading passage, a graphic organizer, a class routine handout. When you start with a strong file, you’re not just testing Kami. You’re building a workflow you can repeat all year.
A good first file is quick to complete and easy to check:
- A 1-2 page PDF students can finish in 10-15 minutes
- A reading passage with 3-5 text-dependent questions
- A math practice page where students need to show their steps
- A science diagram or map labeling activity
- A writing graphic organizer
One quick tip before you upload: if the source file is a scanned worksheet that’s faint, skewed, or hard to read, Kami can’t fix that for you. Clean PDFs or exported documents make everything downstream easier, for you and for students.
Use your usual process to upload a file and assign it, through Google Classroom, Canvas, Schoology, or however your school works. For a walkthrough that works regardless of your setup, here’s how to create and share a Kami assignment.
Before handing it to students, do a quick check: is the text clear at typical zoom levels, is there enough space to type responses, are directions visible and specific?
In week one, your goal is confidence, not complexity. Start with one tool behavior at a time: highlight plus one comment, text box plus turn in, or drawing plus label for math steps and science diagrams. Once students show they can do the basics, expand into richer workflows.
Step 6: use Class View to review work and give feedback in one space
You need a fast way to see who has started, who is stuck, and where to respond first. Class View brings student work into one place so you can review progress and give feedback without jumping between tabs or files.
A simple way to use it in week one:
- Start with one short assignment, 10-15 minutes, so you can practice the review flow
- Do a quick first pass looking for started or not started, plus a few common errors
- Leave one short, specific comment that moves learning forward
Once reviewing becomes routine, pair what you see in Class View with a running record students keep themselves, like Kami’s Track Your Learning template, so progress is visible to you and to them.
Step 7: visit the Kami learning center
You shouldn’t have to self-teach a platform during the busiest month of the year. Once your first assignment is running, connect to training resources you can return to anytime: quick-start resources for classroom workflows, webinars you can watch live or on demand, and practical guides you can share with colleagues.
Go deeper with the Kami App playlist
If you’d rather skip straight to the content built for Kami App, the Kami App playlist pulls together how-to videos and classroom ideas for this product specifically, so you’re not sorting through Companion or Book Creator content to find what applies to you.
For a direct look at what’s currently running, Kami’s webinar schedule lists live sessions and an on-demand library.
A simple way to use it:
- Week 1: watch one short getting-started resource to confirm the basics
- Week 2: add one instructional move, like commenting for evidence or a feedback routine
- Week 3: choose one workflow that saves time, like a repeatable routine or a consistent submission process
For tech coaches: share the Training Hub link in three places, not one, your week-one staff email, your LMS course shell, and the footer of any internal quick-start document you maintain. Repetition is what turns training that exists into training that gets used.
Bonus back-to-school ideas
A few moves that fit naturally into back-to-school reality and help adoption stick.
Run a low-stakes first assignment on day one. Try All About Me for students (customizable) instead of building an introduction page from scratch, a syllabus scavenger hunt with highlighting, or a classroom norms reflection with one comment and one text box. This reduces anxiety for students and gives you a quick signal that everyone can access the tools.
Teach one tool per day, not all at once. Highlight to show evidence, comment to explain, text box for a final answer, drawing to show steps. The goal isn’t feature mastery. The goal is students showing their thinking in a consistent way.
Create a shared “Kami routines” resource for your team. If every teacher on a grade-level or department team uses the same two or three routines, students transfer skills from class to class and everyone sees faster wins. Even a one-page shared resource helps: the first assignment to try, the tool norms to teach, and where to go for help (Training Hub).
Plan for the first “what if” questions. What do I do if a student is absent? What does “done” look like? How do I support a student who needs accessibility options? You don’t need perfect answers on day one, just a shared routine and a place to point people for support.
For more ready-to-remix templates by grade band, see our back to school activities for elementary students or back to school activities for secondary students roundups.
For more of the back-to-school basics, a few more Kami resources worth a look: 5 Activities for the First Day of School, Setting Classroom Expectations, and 8 Editable Meet the Teacher Templates.
Getting started with Kami: a quick checklist
A simple week-by-week path to get set up and build a routine you’ll actually keep using, using GROW to structure the pace:
- Week 1: Go. Create your free account and confirm you can access Kami on your school device: web.kamihq.com, then upload a familiar classroom resource to try it out.
- Week 2: Reinforce. Get Kami certified for a clear baseline: Get Kami certified, and create your first assignment with clear directions and one core tool (text, media, shapes) expectation.
- Week 3: Own it. Use Kami library resources to ramp students quickly, without losing instructional time, and use Class View to review work and give feedback in one space.
- Week 4: Widen. Join the community so you can borrow ideas and share what works: Join the Kami community, and visit the Kami Learning Center for webinars and resources you can use all year.
Back to school is busy enough. Your tools should make learning clearer, not harder to manage. With a quick start, a consistent routine, and the right support close at hand, Kami can support the work you’re already doing and help students show their thinking from day one.
Blogs you may also like
Your March Classroom Activities, Planned


Summer Reading Resources: Journals, Author Studies, and More
April Classroom Resources: End-of-Year Energy That Actually Inspires